

Setup Brother Printer – A Complete Easy Guide for Everyone
Setting up a printer may sound tricky, but with the Setup Brother Printer process, everything becomes easy and stress-free. Whether you're using a new Brother printer or reinstalling an old one, the steps are simple to follow even if you're not a tech expert. This guide will walk you through every stage in clear, simple English — from unboxing to connecting your device and printing your first page. By the end, you'll have your Brother printer ready to print, scan, and copy without any trouble. Let's get started!
Step 1: Unbox and Prepare Your Printer
When you buy a new Brother printer, the first thing to do is carefully unbox it. Remove all packaging materials, tapes, and plastic covers from both inside and outside the printer. Many people forget to take out the protective materials inside the scanner or paper tray — so make sure you check every section properly.
Once you’ve unboxed it, place the printer on a flat surface near your computer or Wi-Fi router. It should be kept in a clean, dry area with proper ventilation. Plug the power cable into the wall socket and turn the printer on using the power button. You’ll see the Brother logo appear on the screen if your model has a display.
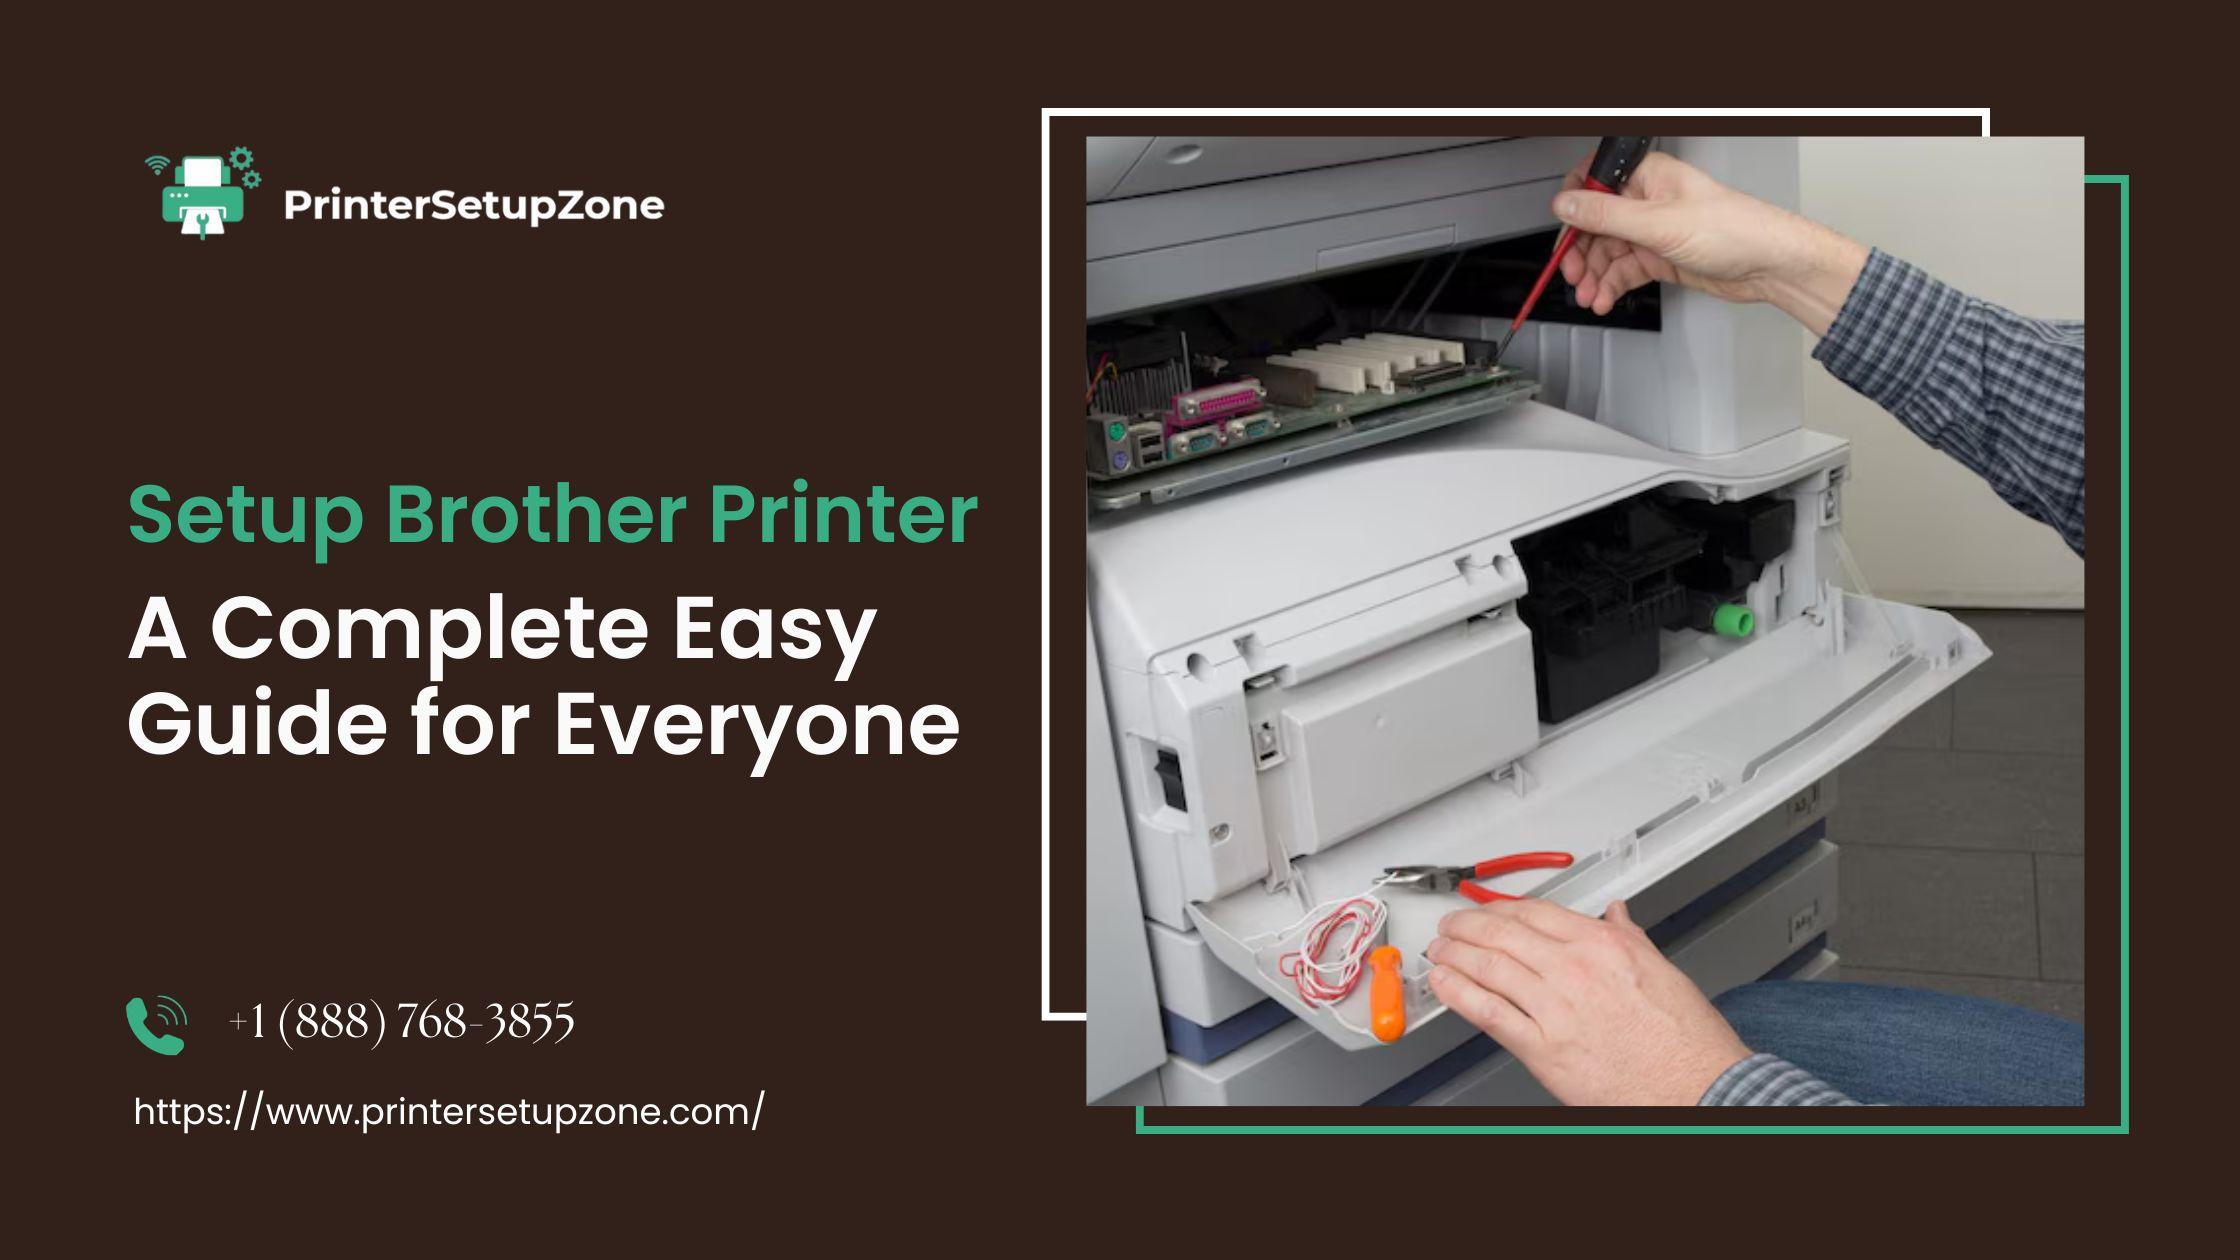
Step 2: Install the Ink or Toner Cartridges
Next, open the ink or toner cover. If you have an inkjet Brother printer, you’ll find individual cartridges for black, cyan, magenta, and yellow colors. Gently shake each cartridge a few times before inserting them into their proper slots. Make sure you match the color on the cartridge with the color label on the printer.
If your printer uses toner (for laser models), open the front panel and insert the toner drum unit. Once you fit everything properly, close the panel. The printer will usually run a short cleaning or setup cycle. Wait until it finishes before moving to the next step.
Step 3: Load Paper into the Tray
After the ink or toner is installed, it’s time to load paper. Open the paper tray and adjust the paper guides to match the size of your paper (A4 is most common). Make sure the paper is not folded or wrinkled. Load it neatly, then slide the tray back into the printer.
Many Brother printers will ask you to confirm the paper size on their display screen. Select “A4” or your preferred size, then press OK.
Step 4: Connect the Printer to Your Device
Now you’re ready to connect your printer to your computer, laptop, or mobile device. There are three main ways to do this: USB, Wi-Fi, or Ethernet.
1. USB Connection:
If you prefer a simple setup, connect the printer directly to your computer using a USB cable. Most Brother printers will automatically detect the connection and start installing the drivers. If not, you can manually install the software (explained below).
2. Wireless (Wi-Fi) Connection:
For Wi-Fi setup, go to the printer’s menu screen and select Network Settings > WLAN > Setup Wizard. It will search for available Wi-Fi networks. Choose your home Wi-Fi name (SSID) and enter the password. Wait a few seconds for the printer to connect successfully.
Once connected, the Wi-Fi light on your printer will stop blinking and stay solid.
3. Ethernet (Wired) Connection:
If you’re setting it up in an office, you might prefer a wired connection. Simply connect an Ethernet cable from your router to the printer’s Ethernet port. The printer will automatically connect to your network.
Step 5: Install the Brother Printer Driver
Your printer won’t work properly until you install the correct drivers and software on your computer. The easiest way to do this is to visit the official Brother support website.
Steps to install the Brother printer driver:
-
Open your browser and go to support.brother.com.
-
Type your printer model in the search box (for example, Brother HL-L2321D or MFC-J1010DW).
-
Select your operating system (Windows, macOS, or Linux).
-
Download and run the “Full Driver & Software Package.”
-
Follow the on-screen instructions to complete the installation.
Once installed, your computer will recognize the printer automatically. You can now print a test page to check if everything works fine.
Step 6: Connect to Mobile Devices (Optional)
If you want to print directly from your smartphone or tablet, you can use Brother’s mobile printing apps.
-
For Android: Install the Brother iPrint&Scan app from Google Play Store.
-
For iPhone/iPad: Download the same app from the App Store.
After installing, open the app, select your printer, and connect it over Wi-Fi. You can now print photos, documents, and even scan directly from your phone.
Step 7: Test Your Printer
Once everything is connected and installed, it’s time for a quick test. Open any document or image on your computer and click Print. Choose your Brother printer from the list and press OK.
If the paper prints correctly and the colors or text look sharp, your printer setup is successful!
If you face any issues — such as blank pages, paper jams, or connection problems — try restarting both your printer and computer. Also, make sure your Wi-Fi network is stable.
Step 8: Regular Maintenance Tips
To keep your Brother printer working well, it’s important to do a little maintenance from time to time.
-
Keep it clean: Use a soft cloth to wipe dust from the surface and inside areas.
-
Use it regularly: Printing a few pages weekly helps prevent ink from drying.
-
Update drivers: Visit Brother’s support page every few months to check for driver updates.
-
Replace cartridges on time: Low ink or toner can affect print quality, so change them when needed.
Common Problems and Easy Fixes
Even after setup, you might face small issues. Here are a few simple solutions:
-
Printer not detected: Recheck the USB or Wi-Fi connection. Reinstall the driver if needed.
-
Paper jam: Open the paper tray, gently remove stuck paper, and reload.
-
Faded print: Clean the print head or replace low ink cartridges.
-
Slow printing: Reduce print quality settings if you’re printing large files.
Final Thoughts
The Setup Brother Printer process is simple once you follow each step carefully. From unboxing and loading paper to installing drivers and printing test pages, everything can be done in just a few minutes. Brother printers are built to make your work easy — whether it's for home, school, or office use.
Take your time, follow the instructions in this guide, and you'll have your Brother printer running smoothly in no time. With regular care and updates, your printer will give you high-quality prints and long-lasting performance.