

How Long Does Hardwood Floor Refinishing Really Take? A Step-by-Step Guide
Hardwood floors are one of the most timeless features a home can have. But even the most durable wood surfaces will eventually show signs of wear—scratches, fading, or dullness from years of use. That’s where a professional hardwood flooring contractor steps in. Refinishing your floors not only revives their beauty but also extends their lifespan, giving your space a fresh, high-quality finish without the cost of a full replacement.
If you’ve never gone through the refinishing process, you might be wondering how long it takes and what to expect. While the exact schedule can vary depending on the size of your space, the type of wood, and the finish you choose, most professional projects follow a fairly standard timeline.
Below, we’ll walk you through each phase of a professional hardwood floor refinishing project—from the initial consultation to the final coat—so you can plan accordingly and avoid any surprises.
Step 1: Initial Consultation and Inspection (1 Day)
The process begins with a consultation, where the hardwood flooring contractor visits your home to assess the condition of your floors. They’ll look for issues like deep scratches, water damage, or uneven boards that may need repair before sanding. This is also when they’ll discuss finish options—oil-based, water-based, matte, glossy, or satin—and provide an estimated project cost and schedule.
A well-experienced and trusted contractor will also give you tips on how to prepare your home for the job, such as moving furniture and covering nearby areas to protect from dust.
Real-world example: A homeowner in Portland had a 500-square-foot living room with 20-year-old oak floors. During the consultation, the contractor identified several boards with minor water stains. These were addressed during the prep stage to ensure a flawless final result.
Step 2: Preparation and Furniture Removal (Half a Day to 1 Day)
Before any work begins, all furniture, rugs, and personal items must be cleared from the work area. If the space is large or has heavy furniture, this may take a few extra hours. Some hardwood flooring contractors offer furniture moving services for an additional fee, which can be especially helpful for larger projects.
The preparation phase also includes sealing off adjacent rooms with plastic sheeting or temporary barriers to minimize dust spread. If you live in a multi-room home, a scalable approach may be used—refinishing one area at a time to reduce disruption.
Step 3: Sanding the Floors (1–2 Days)
Sanding is where the real transformation begins. Using cutting-edge sanding equipment, your contractor removes the old finish, smooths out scratches, and levels uneven spots. Depending on the floor’s condition, they may start with coarse-grit sandpaper and progress to finer grits for a perfectly smooth surface.
The sanding process not only preps the wood for staining or sealing but also reveals its natural grain, which can look stunning even before finishing. For older or damaged floors, a trusted hardwood flooring contractor will use proven methods to ensure the surface is properly restored without over-sanding, which can reduce the floor’s lifespan.
Step 4: Staining (Optional – 1 Day)
If you choose to change the color of your floors, staining comes next. Stains can range from light, natural tones to deep, rich shades that transform the entire room’s character. Applying stain evenly requires skill, and professionals often use industry-leading application techniques to ensure consistent coverage without streaks.
Drying time for stain varies depending on the type of product used, humidity levels, and ventilation. Water-based stains dry faster—sometimes within a few hours—while oil-based options may require overnight drying.
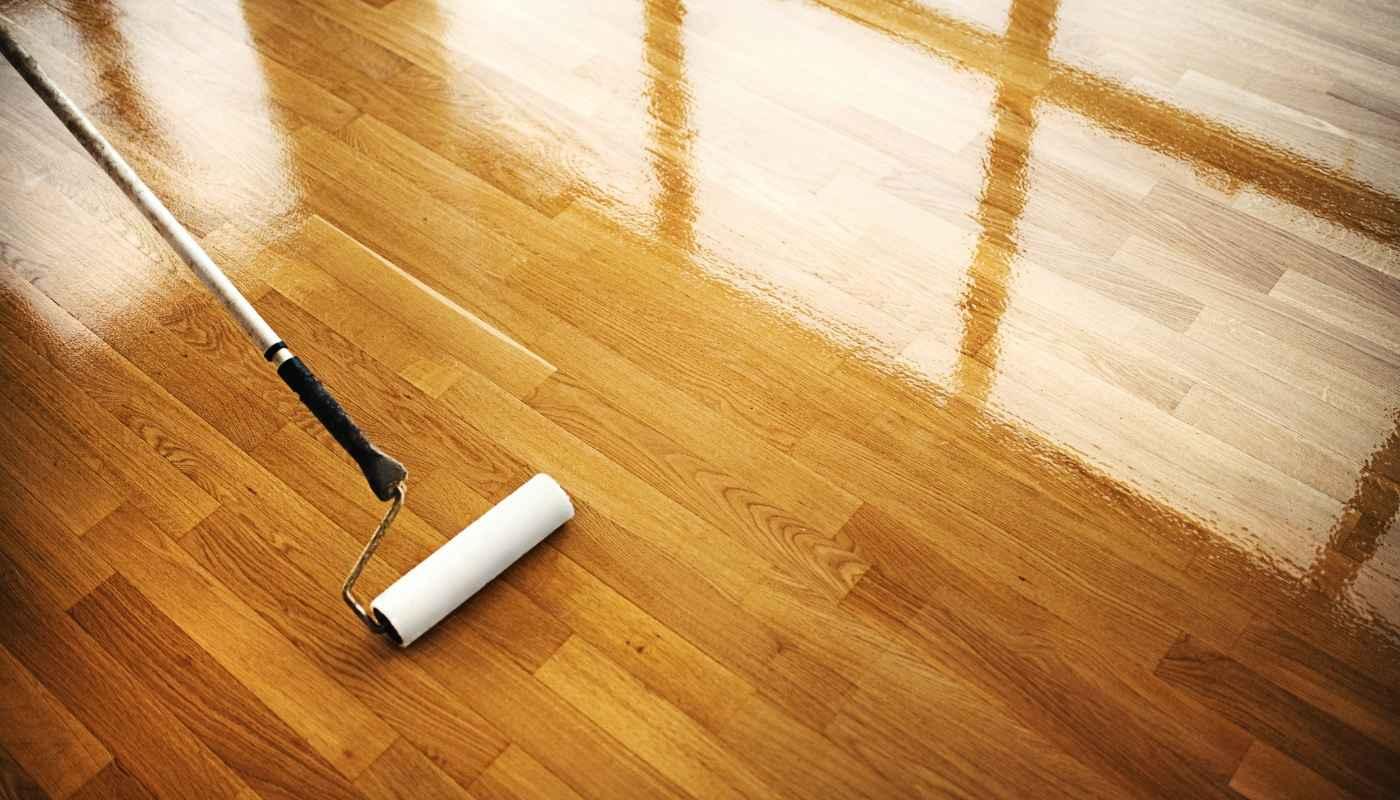
Step 5: Applying the Finish (1–2 Days)
The finish is what protects your hardwood floors from wear and tear. Most contractors apply two to three coats for maximum durability. Between coats, they lightly buff the surface to ensure proper adhesion and a smooth feel.
You can choose from finishes like:
-
Oil-based polyurethane – Proven durability, warm tones, longer curing time.
-
Water-based polyurethane – Fast drying, low odor, and a clear, natural look.
-
Hardwax oils – A more natural, eco-friendly option that’s easy to maintain.
Each coat typically requires several hours to dry, though full curing takes longer. A reliable contractor will provide you with a clear timeline for walking on the floors and moving furniture back in.
Step 6: Final Walkthrough and Clean-Up (Half a Day)
Once the final coat has dried, the contractor will inspect the floors to ensure everything meets quality standards. They’ll also remove dust barriers, clean the area, and give you maintenance tips to keep your floors looking their best.
In most cases, light foot traffic is allowed within 24 hours, but heavy furniture or rugs should wait at least 7 days to avoid damaging the fresh finish.
Typical Project Duration
While timelines vary, here’s a general breakdown for an average 500–800 sq. ft. project:
-
Consultation & Inspection: 1 day
-
Preparation & Furniture Removal: 0.5–1 day
-
Sanding: 1–2 days
-
Staining (Optional): 1 day
-
Finish Application: 1–2 days
-
Final Walkthrough & Clean-Up: 0.5 day
Total Time: 3–6 days (plus curing time before full use)
Why Hiring the Right Contractor Matters
Refinishing hardwood floors is a delicate process that requires precision, proper equipment, and years of expertise. Choosing a top-rated, results-driven hardwood flooring contractor ensures not only a beautiful end result but also a stress-free experience from start to finish.
Cutting corners with inexperienced labor or DIY attempts can lead to uneven finishes, premature wear, or even damage that shortens your floor’s lifespan. With a reliable professional, you get a proven process, high-performance materials, and a finish that lasts for years.
Conclusion
A professional hardwood floor refinishing project is more than just sanding and applying a new coat—it’s a multi-step process that demands attention to detail, the right tools, and an experienced hand. By understanding the typical timeline, you can better plan your schedule and set realistic expectations for your home improvement project.
With the help of D&T Hardwood Floors, a trusted and well-experienced hardwood flooring contractor, your worn-out floors can be transformed into a stunning, durable surface that enhances the beauty and value of your home for years to come.