-
Новости
- ИССЛЕДОВАТЬ
-
Страницы
-
Группы
-
Мероприятия
-
Reels
-
Статьи пользователей
-
Offers
-
Jobs
-
Форумы
-
Кинозал
Soil, Slope & Stability: 3 Ground Checks Before Driveway Installation

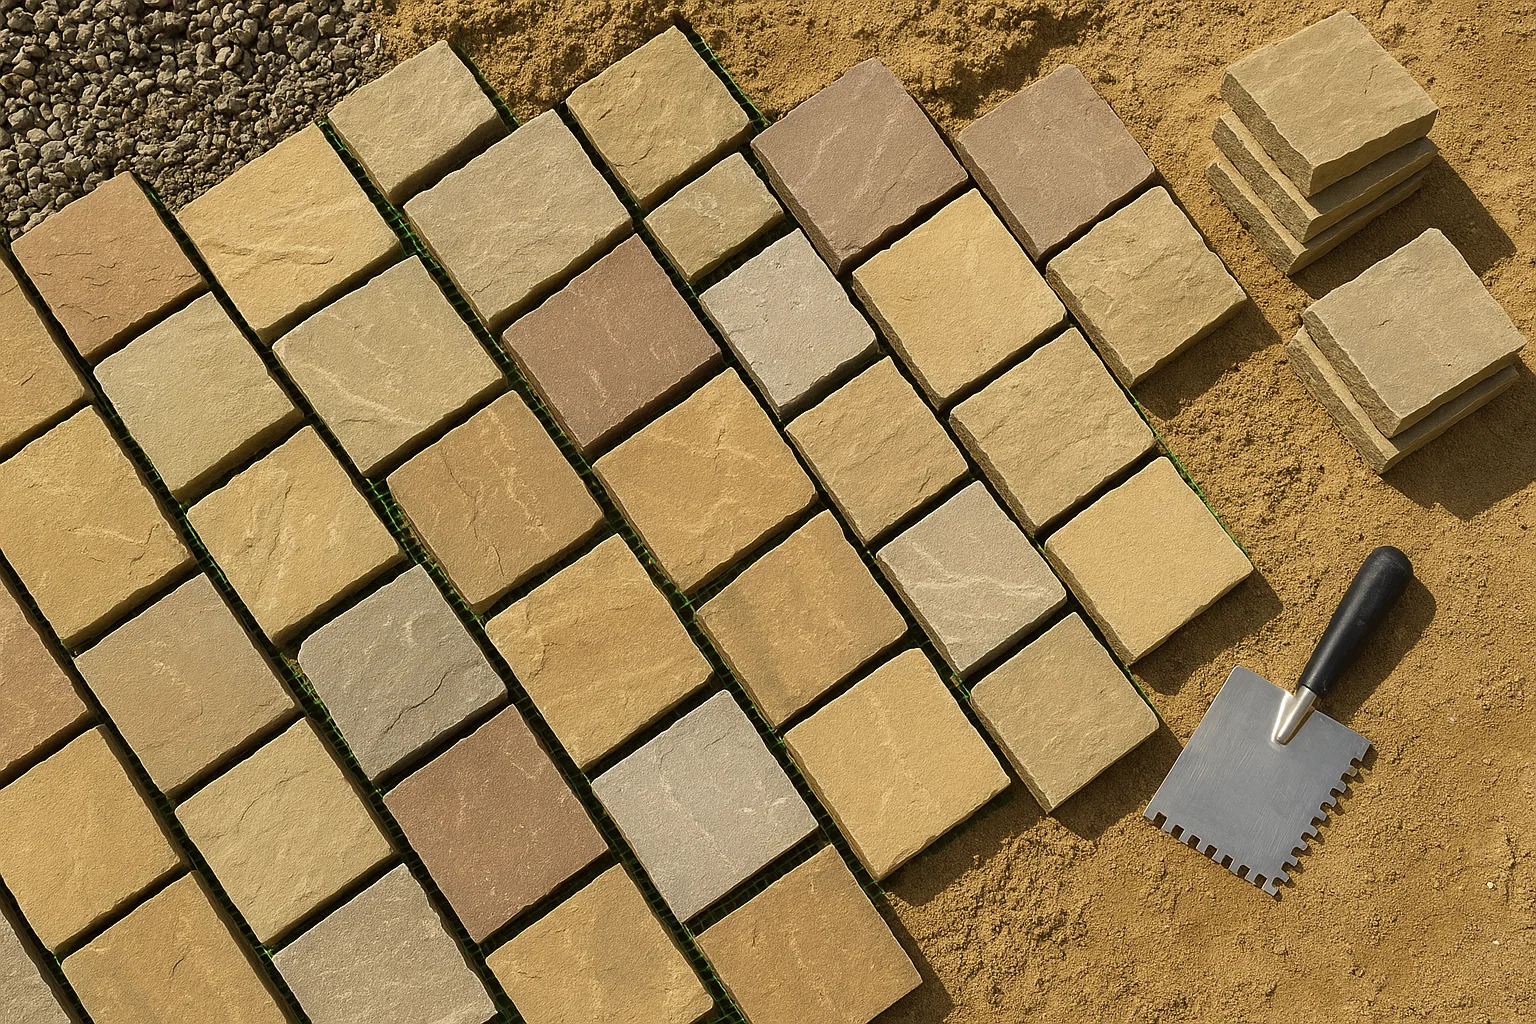
When it comes to building a strong and beautiful driveway, most people focus on the design, the colour, the pattern. But the real work happens underneath. A pleasing and strong driveway will only last if the ground beneath it is well prepared. Even the best pavers will shift, crack or sink over time, if the foundation is weak.
So, before you start laying pavers for driveways, there are three important groundwork checks you should not skip. These three must-do checks are
-
Soil
-
Slope
-
Stability
They are the foundation of your entire project. Get these three right and your driveway will not only look great but also stand strong for years.
Now, let’s understand each of them step by step.
1. Soil: Know What You Are Working With
The first step is understanding the soil under your driveway. Not all soils are the same. Some hold water, some shift easily and some compact well to create a strong base. Without properly analysing the soil, your pavers for driveways may end up sinking or moving after installation.
A quick way to check your soil is by digging a small hole in the area where the driveway will go. Grab a handful of the soil and squeeze it.
-
If it crumbles easily, it’s sandy. It drains well but may need extra compaction or a thicker base.
-
If it sticks together like playdough, it’s clay. It holds water, which can cause movement, cracks or sinking.
-
If it holds its shape but breaks apart when poked, it’s loam which is usually ideal. Loamy soil is usually perfect because it’s firm but not waterlogged.
If your soil is too soft or clay-heavy, you may need to add a gravel sub-base or use geotextile fabric to stop shifting. This extra preparation might sound like a hassle, but it’s a one-time job that keeps your driveway stable for years.
Note: It’s important to know that you never lay pavers directly on soil. Soil is the natural subgrade, the ground beneath your driveway, but by itself, it’s not strong enough to handle the weight of cars. For a durable driveway, the soil needs to be compacted and reinforced with a layer of crushed rock or gravel. This layer provides the strength and stability your driveway needs.
2. Slope: Let the Water Flow the Right Way
Once you know your soil, it’s time to check the slope. This step is about drainage. Water should flow away from your home and off the driveway and not collect in puddles or flow toward your house. Poor slope planning is one of the most common mistakes people make during driveway installation.
Here’s a simple way to test slope:
Step – 1: Grab a straight timber board and a level.
Step – 2: Place the board on the ground and check which way the level tilts.
Ideally, your driveway should slope 1-2 cm per metre away from the house.
If the slope is wrong, fix it before you start laying any base material. Even a slight slope pooling can damage the base layer and even seep under the pavers, causing them to shift or loosen over time.
Once the slope is correct, you can also install cobblestones for driveways, which are perfect for directing water away efficiently. Their interlocking design and natural gaps help with drainage while creating a classic, durable surface.
3. Stability: Build a Strong, Compacted Base
The third check is stability and this is where your driveway’s strength comes from. Even with good soil and slope, if the base isn’t compacted properly, your driveway won’t hold up.
For better stability, you should start by excavating the area to the right depth. The depth depends on the type of soil and the load your driveway will carry.
Next, fill the space with a crushed rock or gravel base. Spread it evenly and use a plate compactor to press it down firmly. This step is not one to rush. You should compact in layers to make sure everything is solid.
Why is this so important?
Because the base layer acts like the spine of your driveway. It spreads the weight of cars evenly, keeps the surface level and prevents pavers from moving. Skipping or rushing this step often leads to wobbly pavers, uneven surfaces or cracks a few months down the line.
Weather Matters Too
Before you start any groundwork, keep an eye on the weather. Installing during very wet or extremely hot conditions can affect the process. Ideally, choose a few dry days for prep work so that everything settles properly before laying the pavers for driveways. Spring can be the right season for renovations and constructions.
Conclusion
Before you bring in the materials or start the installation, give these three checks your full attention. Understanding your soil, planning the slope and ensuring a stable base will help you avoid expensive fixes down the road. Whether you are hiring professionals or doing it yourself, these are the non-negotiables of any good driveway project. So, next time you are ready to roll up your sleeves and start preparing your driveway, remember that strong foundations lead to stunning results.
- AI
- Vitamins
- Health
- Admin/office jobs
- News
- Art
- Causes
- Crafts
- Dance
- Drinks
- Film
- Fitness
- Food
- Игры
- Gardening
- Health
- Главная
- Literature
- Music
- Networking
- Другое
- Party
- Religion
- Shopping
- Sports
- Theater
- Wellness


