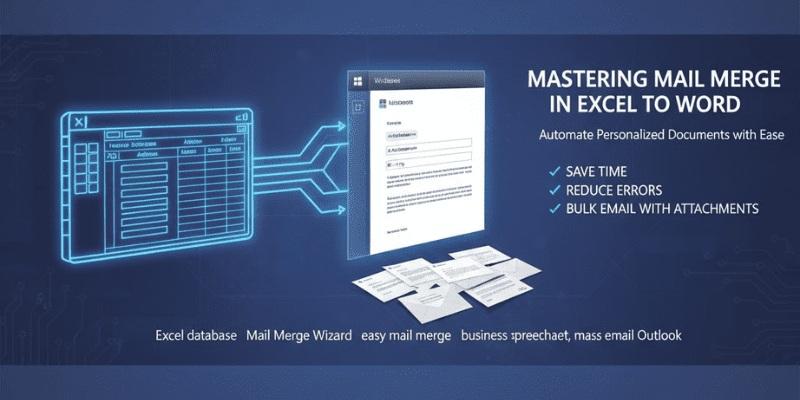
Step-by-Step Guide to Mail Merge in Excel to Word for Beginners

Introduction: Why Mail Merge Is a Game-Changer
Picture this: You’re managing a business spreadsheet with hundreds of client contacts. You need to send personalized letters or emails, but the thought of typing each one individually makes your head spin. This is where mail merge in Excel to Word becomes your secret weapon.
Mail merge allows you to create personalized documents quickly, whether it’s letters, certificates, or invitations. For IT enthusiasts or anyone who works with data regularly, mastering easy mail merge techniques can save hours and make your workflow feel effortless.
Step 1: Prepare Your Excel Database
Before diving into Word, the first step is setting up your Excel database. Think of Excel as the backbone of your mail merge. Each column should represent a different data field names, email addresses, or any other personalized detail.
For example, if you’re sending a bulk newsletter:
- Column A: First Name
- Column B: Last Name
- Column C: Email Address
- Column D: Company Name
Make sure your headers are clear, and there are no empty rows in your spreadsheet. A clean Excel database ensures the merge runs smoothly.
Step 2: Start the Mail Merge in Word
Open Word and navigate to the mail merge wizard:
- Go to Mailings > Start Mail Merge > Step-by-Step Mail Merge Wizard.
- Choose the document type letters, emails, envelopes, or labels.
- Select “Use an existing list” and connect your Excel file.
Here’s a tip: Think of the wizard as your friendly guide it walks you through every step, making mail merge in Word accessible even for beginners.
Step 3: Insert Merge Fields
Now comes the fun part: personalization. Place your cursor where you want data to appear and click Insert Merge Field. Select the fields from your Excel spreadsheet like first names or company names.
For instance, your letter could start:
“Dear «First_Name»,”
This small step transforms a generic document into a highly personalized message without manual typing.
Step 4: Preview and Finish the Merge
Before sending anything, always preview your merge. Click Preview Results in Word to check how each document will look. This ensures your mail merge from Excel works as intended and avoids embarrassing mistakes.
Once satisfied, you can either:
- Print the documents directly, or
- Send them digitally using mail merge with attachments or mass email Outlook integration.
Step 5: Send Bulk Email or Print
If your goal is digital communication, Word allows you to send bulk email using your Excel list as the source. You can attach files, add personalized greetings, and even track who received which email. For printed documents, simply send them to the printer as you normally would each letter is automatically populated with the correct data.
Tips for a Smooth Mail Merge Experience
- Double-check your Excel headers small typos can break the merge.
- Keep your spreadsheet clean avoid empty rows or extra spaces.
- Test with a small batch before sending mass email Outlook campaigns.
- Save your Word template for repeated use it makes future merges faster.
- Explore create a mail merge tutorials online for more advanced techniques, like conditional fields and dynamic attachments.
Conclusion: Automate and Simplify Your Workflow
Mastering mail merge in Excel to Word transforms tedious tasks into quick, efficient workflows. From easy mail merge for letters to sending bulk emails with attachments, the possibilities are endless.
For anyone exploring IT careers or working with data daily, understanding these tools isn’t just convenient it’s a skill that boosts productivity and reduces errors. Start with a simple Excel database, follow the wizard, and soon you’ll be managing personalized communications like a pro.
- AI
- Vitamins
- Health
- Admin/office jobs
- News
- Art
- Causes
- Crafts
- Dance
- Drinks
- Film
- Fitness
- Food
- Games
- Gardening
- Health
- Home
- Literature
- Music
- Networking
- Other
- Party
- Religion
- Shopping
- Sports
- Theater
- Wellness


